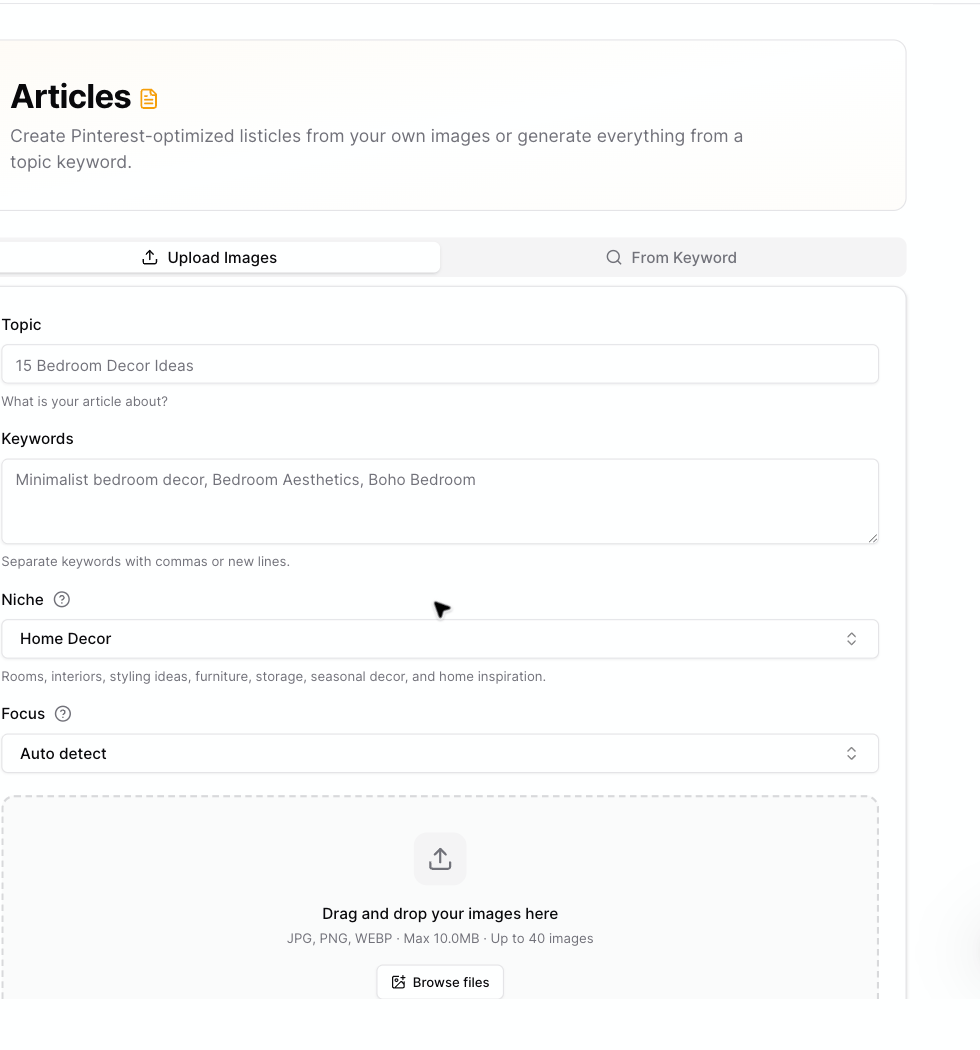
What you need
Before generating, prepare:- A clear article topic
- One or more relevant keywords
- The closest Niche
- A Focus, or leave it on Auto detect
- Images for the article
Create an article from images
Pinsearch opens the generated draft in the Article Editor when the article is ready.
Image order matters
After you upload images, Pinsearch shows them as draggable cards. The order you set becomes the order Pinsearch uses when building the article. Put the strongest or most important image first if you want it to lead the draft.Credits
Image-based article generation uses 1 credit per uploaded image. For example:- 5 images use 5 credits.
- 12 images use 12 credits.
- 30 images use 30 credits.
After generation
When generation finishes, the article opens in the Article Editor. From there, you can:- Edit the title and body.
- Save changes.
- Update image alt text and captions.
- Copy or download WordPress HTML.
- Send the article to WordPress if you connected a site.