Use Send to WordPress when your article is ready and you want Pinsearch to create or update a WordPress post for you.
This is helpful when you want less copy-paste work and a faster path from research to publishing.
Before you start
Make sure:
- Your WordPress site is connected in Settings.
- The article title and body are ready.
- A featured image is selected.
- Images have useful alt text.
- SEO fields are filled in if you plan to use them.
- You saved your latest edits.
Choose a WordPress site
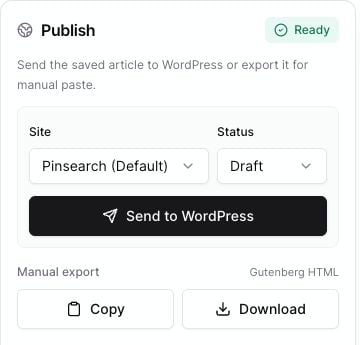
In the Publish panel, use Site to choose the connected WordPress site.
If you only have one connected site, Pinsearch selects it automatically. If you have a default site, it appears as the default destination.
If no site is connected, the panel shows No site and Send to WordPress is disabled.
Choose draft or publish
Use Status to choose how WordPress should receive the article.
- Draft: Creates or updates the post as a WordPress draft.
- Publish: Sends the post as a published WordPress post.
Choose Publish only when you are ready for the post to go live on your WordPress site.
Send the article
Open the article
Go to Create, open Library, and click View beside the article.
Review the article
Check the title, body, images, and SEO fields.
Choose site and status
In the Publish panel, choose the Site and Status.
Send to WordPress
Click Send to WordPress.
After the article is sent
When publishing succeeds, Pinsearch shows a success message.
If WordPress returns a post link, the editor shows View WordPress post so you can open the post in WordPress.
If the article was already sent to the same connected WordPress site before, Pinsearch updates that existing post. If not, it creates a new WordPress post.